



How-To Guide: Getting The Best Lighting For Your Shoot
21st January 2025

Achieving the best lighting on your shoot is essential for creating images that are both visually striking and well-exposed. The way light interacts with your subject can transform a mundane shot into something extraordinary or define the mood and emotion of the image. We run through a number of tips to help you achieve the very best lighting in your photos:
-
Working With Natural Light
For many photographers, natural light is the most striking and versatile form of lighting, depending on the time of day. Golden Hour is the period shortly after sunrise and just before sunset when the light is soft, warm, and diffused. It is also important to take notice of where the light is coming from. When light hits your subject from the front, this can reduce texture, whereas side or backlighting can create added depth.
-
Use Reflectors to Control Light
Reflectors are both an affordable and effective way to manipulate light. They bounce light back onto your subject, reducing harsh shadows and filling in dark areas. Each provide a different type of light, including White (softens and evenly spreads light), Silver (reflects light strongly, creating a more contrasting light, Gold (giving a warmer tone to your subject), and Black (this subtracts light or creates shadows).
-
Embrace Artificial Lighting
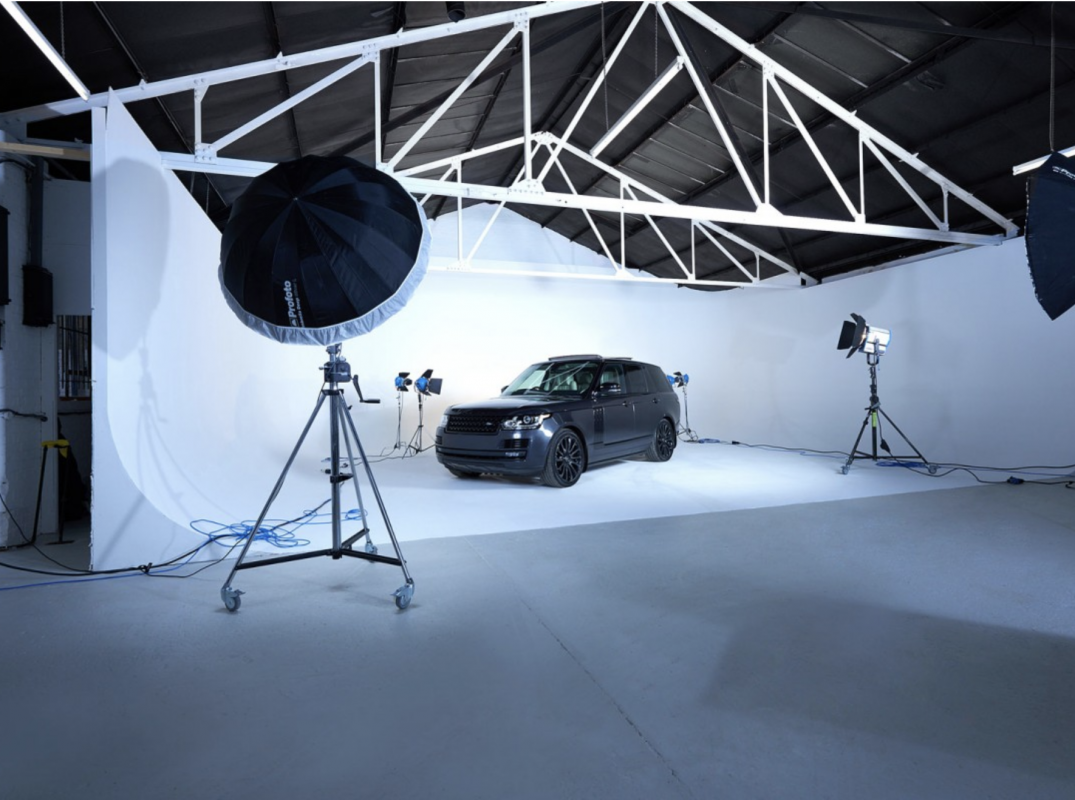
If you're shooting indoors or in low-light situations, and struggling with the natural light, artificial lighting can help get you your desired effect. These come in various forms: from Continuous Lighting (i.e. softboxes or LED panels, these stay on throughout your shoot); Flash Photography (this gives your image a burst of light and freezes motion); and Positioning and Modifiers (positioning your lights at different angles help sculpt the light, whilst modifiers like softboxes or umbrellas can soften or direct the light).

-
Master the Exposure Triangle
The exposure triangle describes the relationship between aperture, shutter speed, and ISO. It affects how much light enters your camera and, in turn, how it interacts with your image:
A larger aperture lets in more light and can create a shallow depth of field, making the background blurry. A slower shutter speeds allow more light in, but they can introduce motion blur if the subject moves. If you increase the ISO, this makes the camera more sensitive to light, but an also introduce noise.
-
Finally, Don't Be Afraid to Experiment!
Often, great lighting often comes down to trial and error. Experiment with different light sources, angles, and modifiers to see what fits your image best. Don't be afraid to play around and fail before you succeed!
We hope these tips help you in creating the images you dream of. You can contact any of our Amazing Space Studios directly to get the perfect location to help you achieve this!